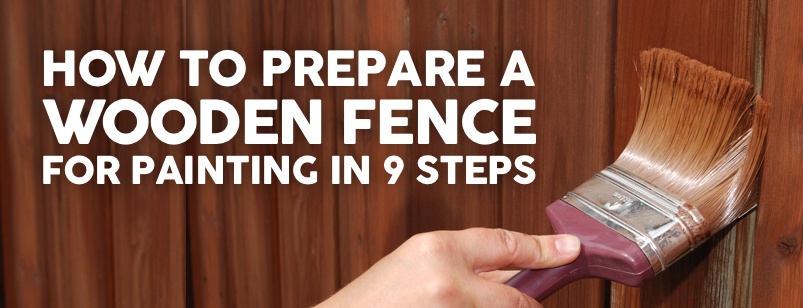
How to Prepare a Wooden Fence for Painting in 9 Steps (+ 5 Tips From a Landscaper)
Painting a fence isn’t as simple as getting a paintbrush and swiping some paint onto it - you need to consider the material, colour, weather, apparatus and numerous other things before you begin.
While preparation may sound like a chore (and we’ll be honest, it’s time-consuming) it’ll be worth it when you’ve got a colourful fence and an undamaged garden.
There’s no shortcut to painting a fence - but taking ten minutes to read this guide will help you get off to a great start.
Can You Paint a Fence When it Rains?
Firstly, you can’t paint when it's raining, so don’t try to do this. You’ll end up wet and more miserable than when you found out it was raining.
Here are a few tips:
- Wait until the fence is dry, this could take a few days depending on the season or climate. Paint and damp wood don’t mix.
- Clean the fence before you paint, rainwater leaves dirt and particles on the fence and hard rain could splatter mud onto it.
- Check the weather forecast! There’s nothing worse than getting prepared and forgetting to check the weather.
What You’ll Need
Ensure you use old clothes that you don’t mind getting dirty, and consider wearing some wellies or old boots that you don’t mind getting paint on. Invest in quality materials - it’ll help you prepare your fence without any mishaps.
We’ll go through the tools you require after each step.
How Long Does it Take?
It’s impossible to know. You need to rely on the weather, your equipment, and how much fence area you have to cover. Plus, will you get roped into painting your neighbour’s fence as well?
How to Prepare a Fence for Painting
We’re going to explain the steps you need to take to get the fence in the best condition pre-painting, and help you avoid asking someone else to do it.
Plant, Fence & Ground Protection
Step 1: Mow Your Lawn
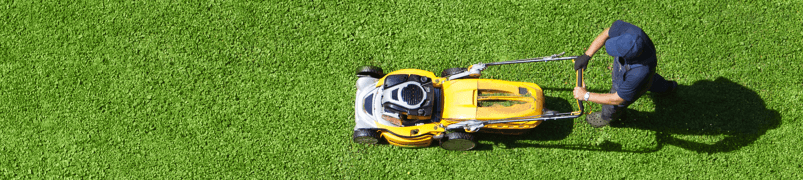
Firstly, you need to ensure no vegetation can interfere with the fence. Otherwise, it may end up sticking if the wind blows it around the garden. You should mow your lawn or rake it to collect any loose vegetation.
What You’ll Need:
Step 2: Cut Back Any Loose Vegetation
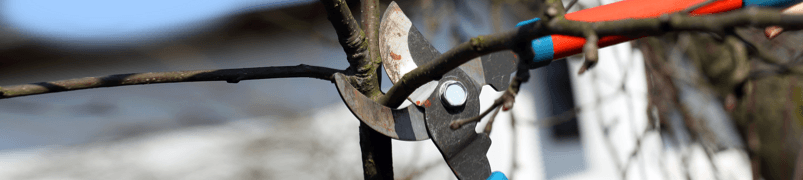
If you’ve got trees or large plants in your garden, you might struggle to get around them, or they might knock the fence as you’re painting it.
Trim or twine the branches back from the fence, so they don’t interfere. Remember to blow any vegetation away with a leaf blower or collect it using some garden gloves.
What You’ll Need:
Step 3: Mask Off Plants Around the Fence
You’ll want to protect any plants that are next to your fence; you don’t want to ruin yours (or someone else’s) hard work in the process.
Use plastic sheeting to shield your beloved plants, but be careful not to crush them in the process. You could also slide a sheet of plywood between your shrub and fence to prevent paint toxins from attacking the shrub.
What You’ll Need:
Step 4: Protect Under the Fence
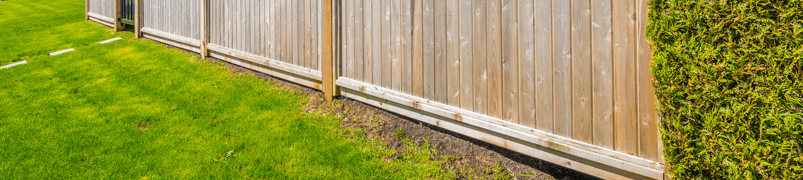
Protect the ground under the fence by sliding some plastic sheeting underneath it. The sheet will also collect any residue that falls off the fence while you’re painting it.
Tip: if your fence panels are heavy, as someone to help you lift them so you can avoid any unnecessary injuries.
What You’ll Need:
Cleaning & Preparing the Fence
Once you’ve cleaned and prepared the area around the fence, you’ll need to prepare the fence. Don’t start painting without examining the fence for damage or dirt. The most crucial thing to do before painting a fence is to ensure it’s clean.
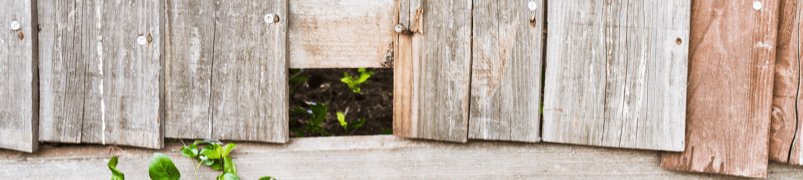
Step 5: Repair the Fence
If you’re going to spend your valuable time painting a fence, it’s best to get it in the best shape. That way, you won’t have to revisit the job too soon after.
If there are a few small cracks in the fence, you could use some wood glue to stick them together. If the damage is more serious, you may need to replace a wooden slat or a full panel.
Top tip: for a new fence glow, replace any rusty nuts, bolts and screws.
What You’ll Need:
Step 6: Pressure Wash the Fence
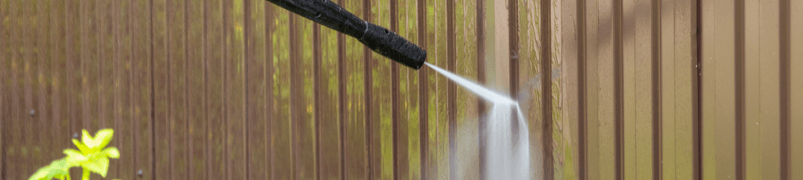
If you’re repainting a fence, we’d recommend pressure washing it. You’ll remove any dirt, but old paint will come off too.
Crank it up to high pressure and give it a blast, don’t leave it on too long though or you’ll risk soaking the fence, which could make it mouldy.
Top-tip: take the opportunity to look for any cobwebs or insects on the fence, which could stick with the pressure from the pressure washer.
What You’ll Need:
Step 7: Sand the Fence

To further remove any debris, paint or dirt from your fence, you can use sanding paper. It’ll result in a smooth finish when you apply the new coat.
If you’re repainting a new fence, we’d recommend sanding it as well. If you want to speed up the process, consider investing in a power sander.
What You’ll Need:
Step 8: Tape Off Parts of the Fence You Don’t Want to Paint

There’ll be some parts of your fence you don’t want to paint, such as hinges, handles and fence posts if they’re a different material.
Be sure to tape them up and make sure they’ve got adequate protection. There’s nothing worse than having to reverse something you didn’t intend to do.
Buy some painter's tape, which is specially designed for wood surfaces.
What You’ll Need:
Step 9: Apply a Coat of Primer

Once you’ve got your fence ready to paint, you should add a primer. A primer will help stop the fence from developing mould and acts as an adhesive for the paint.
A primer will also act as a smooth base and helps to bring out the colour of the top coat you're using.
What You’ll Need:
5 Tips From a Garden Designer & Landscaper
Before you start preparing your fence, you may as well get the inside information from the expert. We spoke to Andy Harrison, a Garden Designer and Landscaper from Harrison Horticulture:
1. Mow Your Lawn
Mowing season tends to come to an end in the Autumn. If the weather stays wet and mild, you can go over the lawn during the Winter months.
Don’t be precious about having a low-cut, bowling style lawn. If your mower blades are adjustable, set them slightly higher.
2. Watch Where You’re Going!
Watch where you’re standing. Spring bulbs will be emerging now, so watch you don’t accidentally stand on them.
A great tip if you have climbers, or plants touching the fence; and you don’t want to trim back, is to set up temporary bamboo canes as a support. Tie in the plants to this support system.
If you’re a bit wild with the paint brush, or just clumsy, place sheets over plants for protection. Also, be careful around hard landscaped areas. Natural stone will absorb the fence paint, causing staining.
3. Preparation is the Key to Success
Forward planning is key here. If your fence is particularly dirty/algae covered, then a power wash will be necessary. Summer is a great time for this, as it will ensure the fence has thoroughly dried before you wave your paint brush at it.
Sanding will also be advised if you have any old bits of paint that need removing, or, if you’re using a wood stain, and you want to highlight the grains of the timber. Sanding will also aid in the paint’s adhesion.
Replace any panels/timber that are showing signs of rot before you paint. It’s also a good idea to prime the wood prior to painting. This will seal the wood.
4. Talk to Your Neighbours
If you have the waney or overlap style fence, then you can sometimes get dripping on the other side. Just be careful of this when painting as your neighbour might not appreciate paint drips on their side.
Also, whilst you’re partaking in preserving your fence, talk to your neighbour about cutting a small hole in the bottom of the panel.
This will allow hedgehogs free roaming between gardens. Useful for you, because hedgehogs are of course great at eating slugs.
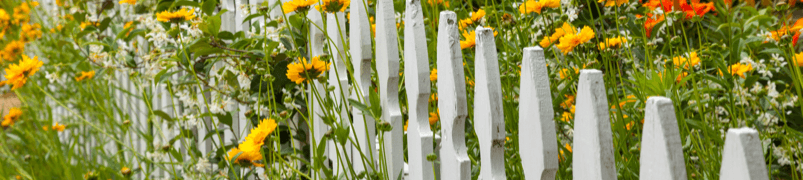
5. Get the Right Colour
- Dark colours – greys, blacks, dark brown, highlight plants
- Lighter colours – can make a garden look bigger/brighter. Handy if your garden is on the small size.
- Lots of colours – avoid using lots of colours for different timber structures. This will make the garden look cluttered and confuse the eye. Stick with one colour, or palette.
Let’s Recap Those 9 Steps:
- Mow Your Lawn ✓
- Cut Back Any Loose Vegetation ✓
- Mask Off Plants Around the Fence ✓
- Protect Under the Fence ✓
- Repair the Fence ✓
- Pressure Wash the Fence ✓
- Sand the Fence ✓
- Tape Off Parts of the Fence You Don’t Want to Paint ✓
- Apply a Coat of Primer ✓
Now You’re Ready to Go!
As you can tell by now, the preparation for painting a fence is a lot more time-consuming than the painting itself. But once it’s all done, you can paint to your heart’s content.